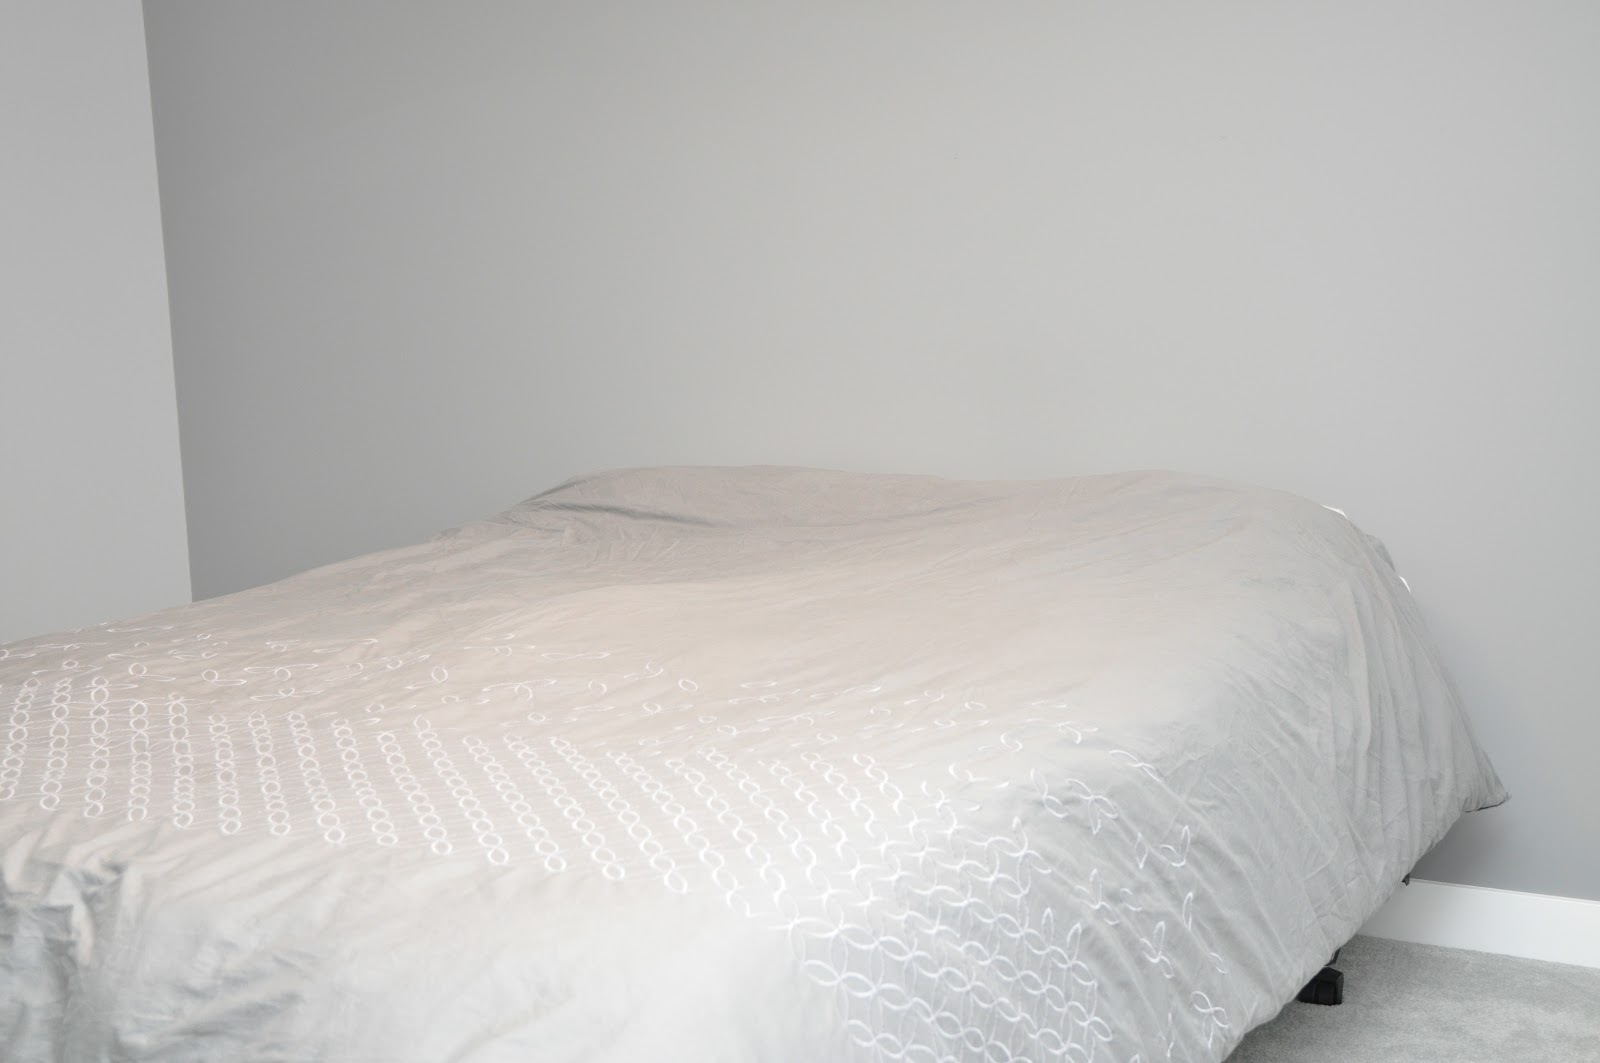
This is the BEFORE of the room!
Please contain your excitement people... I know there is just too much beauty for you all to absorb! Don't come knocking at my door all at once begging to sleepover! Haha... so sad looking huh?
I always knew that I wanted an upholstered headboard for this bed... but I'm super cheap and didn't want to dole out the big bucks for one! So once again, DIY to the rescue!!
The most important step in any DIY is to always have proper gear and an expert helper! Haha I'm sure OHS would agree that pajamas, rubber kitchen gloves and my trusty sidekick Kalbs should about do it!
Husband and I have upholstered a few things around the house since purchasing a staple gun (best thing ever by the way)!! So that makes us expert upholsterers right? NOT!! Haha! Anyways, an upholstered headboard is actually pretty straightforward. There are plenty of step-by-step DIY tutorials out there if you are interested in making one too. Just google it! My only advice is to use one large piece of foam instead of putting together a few small ones. You might save some money doing it that way, but if you are OCD like me, the little lumps and bumps might make you cringe a little. I'm kinda disappointed that I didn't use one piece, but oh well that's what I get for being a cheapo!
So pretty much layer the fabric, batting, foam, plywood and then staple away. If you are making a tufted headboard then I would recommend mapping out where you want your buttons and drilling out holes in the plywood before doing all that. Make your buttons and thread them through... which is really really hard if you only have a tiny needle. No idea where you find one of those giant long ones that the tutorials tell you to use! I bought the longest one that Michaels had and it was only a couple inches long! If you know where to find those giant needles, let me know! That was by far the hardest part... probably why I have no pics of that step! Like I said, google it or ask me if you want more details on that part! Anyways, we decided to mount the headboard to the wall with some french cleats. I've never used it before but very easy and surprisingly strong!
And since I'm all about being fancy schmancy, I wanted to make a matching bed skirt! I am NOT a sew-er (is that a word? Without the hyphen it would be sewer... like the place ninja turtles come out of... hmmm... anyways sew-er like a person that sews... like a seamstress)!!! What I'm trying to say is that I'm not very skilled at sewing, so my bed skirt would have to involve minimal or NO sewing! I decided to Stitch Witch all the seams!! OMG, how come I've never thought of that before? Stitch Witch is just fusible boding tape that you iron on and your fabric sticks together like magic!! My new favourite thing! I am never paying to get pants hemmed again!! The bed skirt is also velcroed onto the box spring so it is removable!
So after all our hard work... cutting, measuring, drilling, stapling, pulling, tugging, tufting, ironing and velcroing... it was time for the FUN part! I got to go to the happiest place on earth... HomeSense of course... and pick out some new bedding! I chose this gorgeous Tiffany blue geometric patterned bedding! Here is the AFTER!! What do you think?
The chair is from HomeSense too... I am quite in love with it! I actually sewed some of those pillows... can you believe it? The only thing missing in this room is curtains!! That is next on my DIY list! BTW did you notice how Mr. Elephant is in this room? I'm pretty much going to place him strategically into every picture until you all start to realize that he isn't creepy, just misunderstood and actually very cute!!


Where did you find the bedding?
ReplyDelete(tayl478@yahoo.com)